Done well, it protects against fake accounts, attacker access, brute force attempts, and that hard bounce that kills deliverability. Done poorly, it frustrates users or fails to stop bad actors.
Below is a complete, instruction-style walkthrough, with each stage explained and connected to the tools and features Bouncer’s email verification can provide.
Step 1 – Identify your verification triggers
The email verification process starts when something happens that needs trust:
- A user creates an account
- A user changes their email
- A Google sign in account is connected
- A password reset request is made
- A user tries to access more vital operations (e.g., payment settings, sensitive data)
💡 Tip: Don’t overload new users with verification too soon—trigger it at logical points in the journey to keep friction low.

Step 2 – Capture the user’s email address
When the user submits their email, this is your chance to check it before anything else happens.
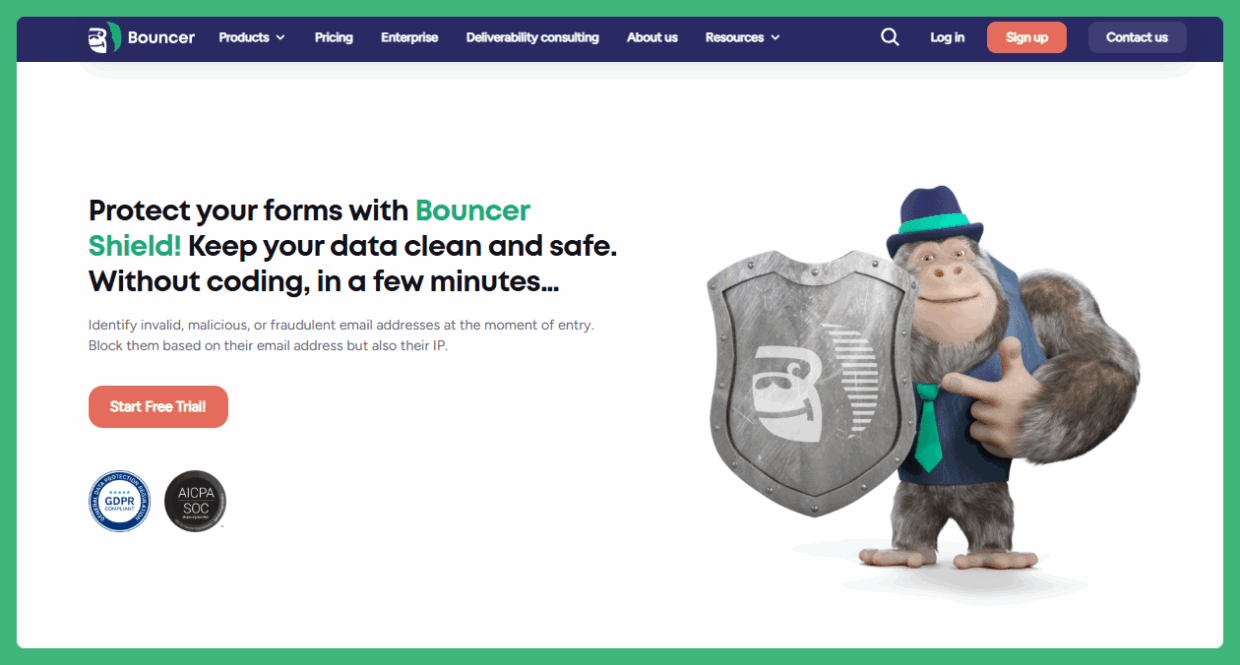
With Bouncer Shield, you can:
- Block invalid or fake addresses instantly
- Flag toxic addresses (e.g., spam traps, complainers)
- Detect malicious patterns based on IP and domain

Why does it matter? This prevents the rest of the flow from even starting if the email is junk, saving you time and resources.
Step 3 – Generate a secure verification token
This is the engine of your email verification logic. When a clean email passes the first filter:
- 1. Generate a cryptographically secure, random token.
- 2. Store it in your database along with:
- User ID
- Expiration time
- Verification status
- 3. Tie it to one-time use only.
Best practice: Never store verification tokens in plain text. Always encrypt or hash them before storage.
Step 4 – Send the verification email
Now it’s time to deliver the verification link to the user’s email client.
- Keep the subject line clear: “Verify your email” works better than marketing fluff.
- Include a visible verify button plus the raw verification link for email clients that strip buttons.
- Set an expiration time (e.g., 24 hours).
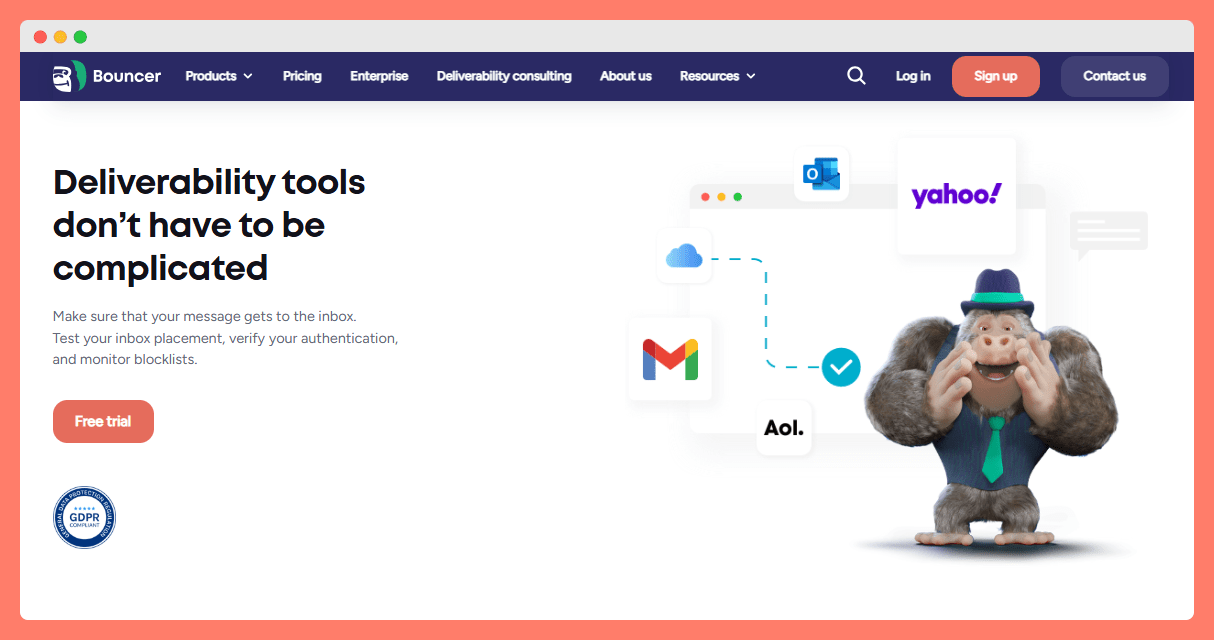
Pro tip with Bouncer: Use the Deliverability Kit to:
- Test inbox placement before launching
- Check for spam trigger words
- Monitor blocklists to prevent your domain from being flagged

Step 5 – Design your verification email for action
Your verification email should be simple and scannable. A clean structure looks like this:
- Greeting
- Short explanation: “Click the button below to verify your email address.”
- The verify button/verification link
- Expiration info
- Support contact
Skip the banners, company updates, or too many feature updates—users might simply ignore them.
Step 6 – Handle the click
When the user clicks the verification link:
- Check the token against your database.
- If valid and unexpired → mark the email verified and unlock the account.
- If invalid or expired → prompt to resend a new link.
Security add-on: Log IP addresses at this stage for scanning purposes and data analytics. This can help spot hijacking accounts or suspicious verification patterns.
Step 7 – Manage Google sign in and email password sign in flows
Here’s where automatic account linking can trip you up.
- If a user signs in with Google and later creates an email password account using the same email address, don’t automatically assume they’re the same person.
- Require them to verify their email before merging accounts to avoid linking two accounts that belong to different people.
Step 8 – Prevent issues with the same email across accounts
Same email + two accounts = confusion, security risks, and possible attacker access. To handle this:
- Always require universal verification before merging
- Use segment verification to handle special cases (e.g., enterprise accounts vs. individual accounts)
Step 9 – Unlock more vital operations
Once an email is verified, it’s safe to open the gates:
- Allow password changes
- Enable payment updates
- Turn on advanced features like image editing or sensitive data export
- Send company updates and celebrate feature updates
Step 10 – Guard against abuse
Even after a user is verified, keep the barrier strong:
- Limit link reuse
- Set short expiration times
- Monitor suspicious IP ranges
- For email clients that auto-scan links, separate verification triggers from actual clicks (e.g., a confirm button after link load)
Step 11 – Follow up with non-verifiers
Some users will never click “verify.” To handle them:
- Send one reminder email with the same link
- If no action → send a fresh link with a new verification token
- If still no action → lock features or remove the account after a set time
Step 12 – Integrate into your existing project
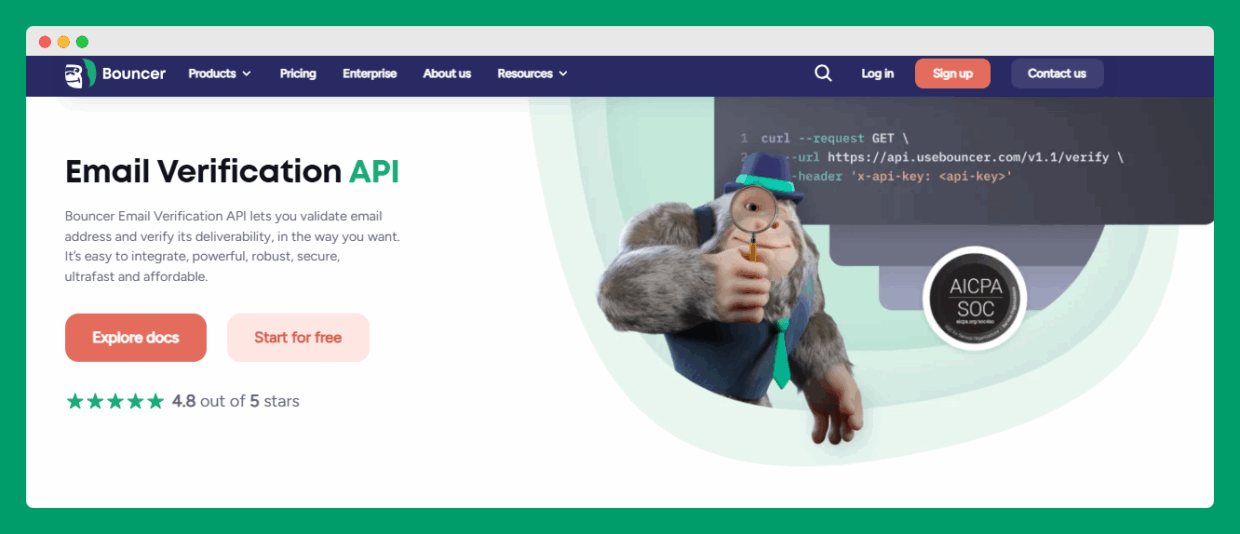
Bouncer’s Email Verification API makes it easy to add verification to an existing project without disrupting your current flow.

Choose between synchronous (instant) or asynchronous (background) verification depending on your user experience needs.
Step 13 – Reduce bounce rates and improve deliverability
The easiest way to pass verification smoothly is to verify email addresses before sending anything.
Bouncer helps you:
- Identify addresses that will cause that hard bounce
- Keep sender reputation clean with email service providers
- Increase ROI on campaigns by only emailing real, engaged users
Step 14 – Test and monitor your flow
Verification is not “set and forget.” Regularly test:
- Email deliverability
- Token expiration handling
- Automatic account linking
- Security measures for brute force attempts
Step 15 – Keep evolving your verification process
Verification flows need to adapt to new attack methods and changing user expectations.
Review your process every quarter, especially if:
- You add new sign-in methods (e.g., Google sign in)
- You introduce more vital operations that require higher trust
- You detect a rise in fake accounts or unusual verification patterns
Why the email verification link is different from password reset
The email verification link serves a different purpose from sending password reset instructions.
While email address verification confirms that the actual user controls the account before it’s fully activated, a reset is only relevant to an original account that already exists.
When generating verification tokens for user verification, you’re building an email verification barrier—a step that, unlike password reset, prevents attackers from creating or taking over accounts in the first place.
On a social media platform, for example, verified email users are trusted to automatically link their accounts across devices without needing extra confirmation. But that only works if the verification was done correctly from day one.
Since most users pass verification quickly, it’s tempting to relax the rules. However, strong flows are designed to prevent users from bypassing security, reusing tokens, or using someone else’s address to gain access.
Even if you later send reset instructions, a well-implemented verification flow keeps your platform safe from fake sign-ups and protects the integrity of your user base.
Bottom line
A proper email verification flow—supported with token security, deliverability tools, and real-time form protection—prevents fake accounts, protects user data, and improves your email marketing performance. With Bouncer, it’s not just about verifying, it’s about building trust from the first click.
Explore how Bouncer can fit into your flow →


