Are you struggling to keep your email subscribers engaged?
Consider this: despite the potential of email marketing, about half of all traffic to websites leaves within seconds, often due to content that doesn’t meet visitor expectations. When it comes to emails specifically, an average of 10.08% to 15.69% of them can bounce back across various industries, undermining your campaign’s effectiveness.
Email verification can help decrease the bounce rates.
In this post, we show you how to validate emails from your ActiveCampaign account.
How does email validation in ActiveCampaign work?
ActiveCampaign doesn’t offer built-in email validation. You need to use third-party services to check if email addresses are correct before you upload them.
Many services promise thorough validation but often fall short, which leads to issues like undetected invalid emails slipping through. This inconsistency can negatively impact your campaign’s effectiveness and your sender reputation.
However, Bouncer is an exception worth considering. It stands out with a reported 98% accuracy rate in validating email addresses.
What does this mean for you?
Higher accuracy guarantees that more invalid or fake email addresses will be caught before you send out your campaigns. This helps maintain a clean email list, reduce bounce rates, and increase your overall email deliverability.
That said, here’s a tutorial on verifying your email list from ActiveCampaign.
Verify emails using Bouncer
You can use an email verification tool to verify contact email address bounces. We suggest Bouncer because of its ease of use and generous free plan.
Step 1: Create a free account on Bouncer
Bouncer offers 100 free credits for verification. If your list isn’t too big, it can be more than enough.
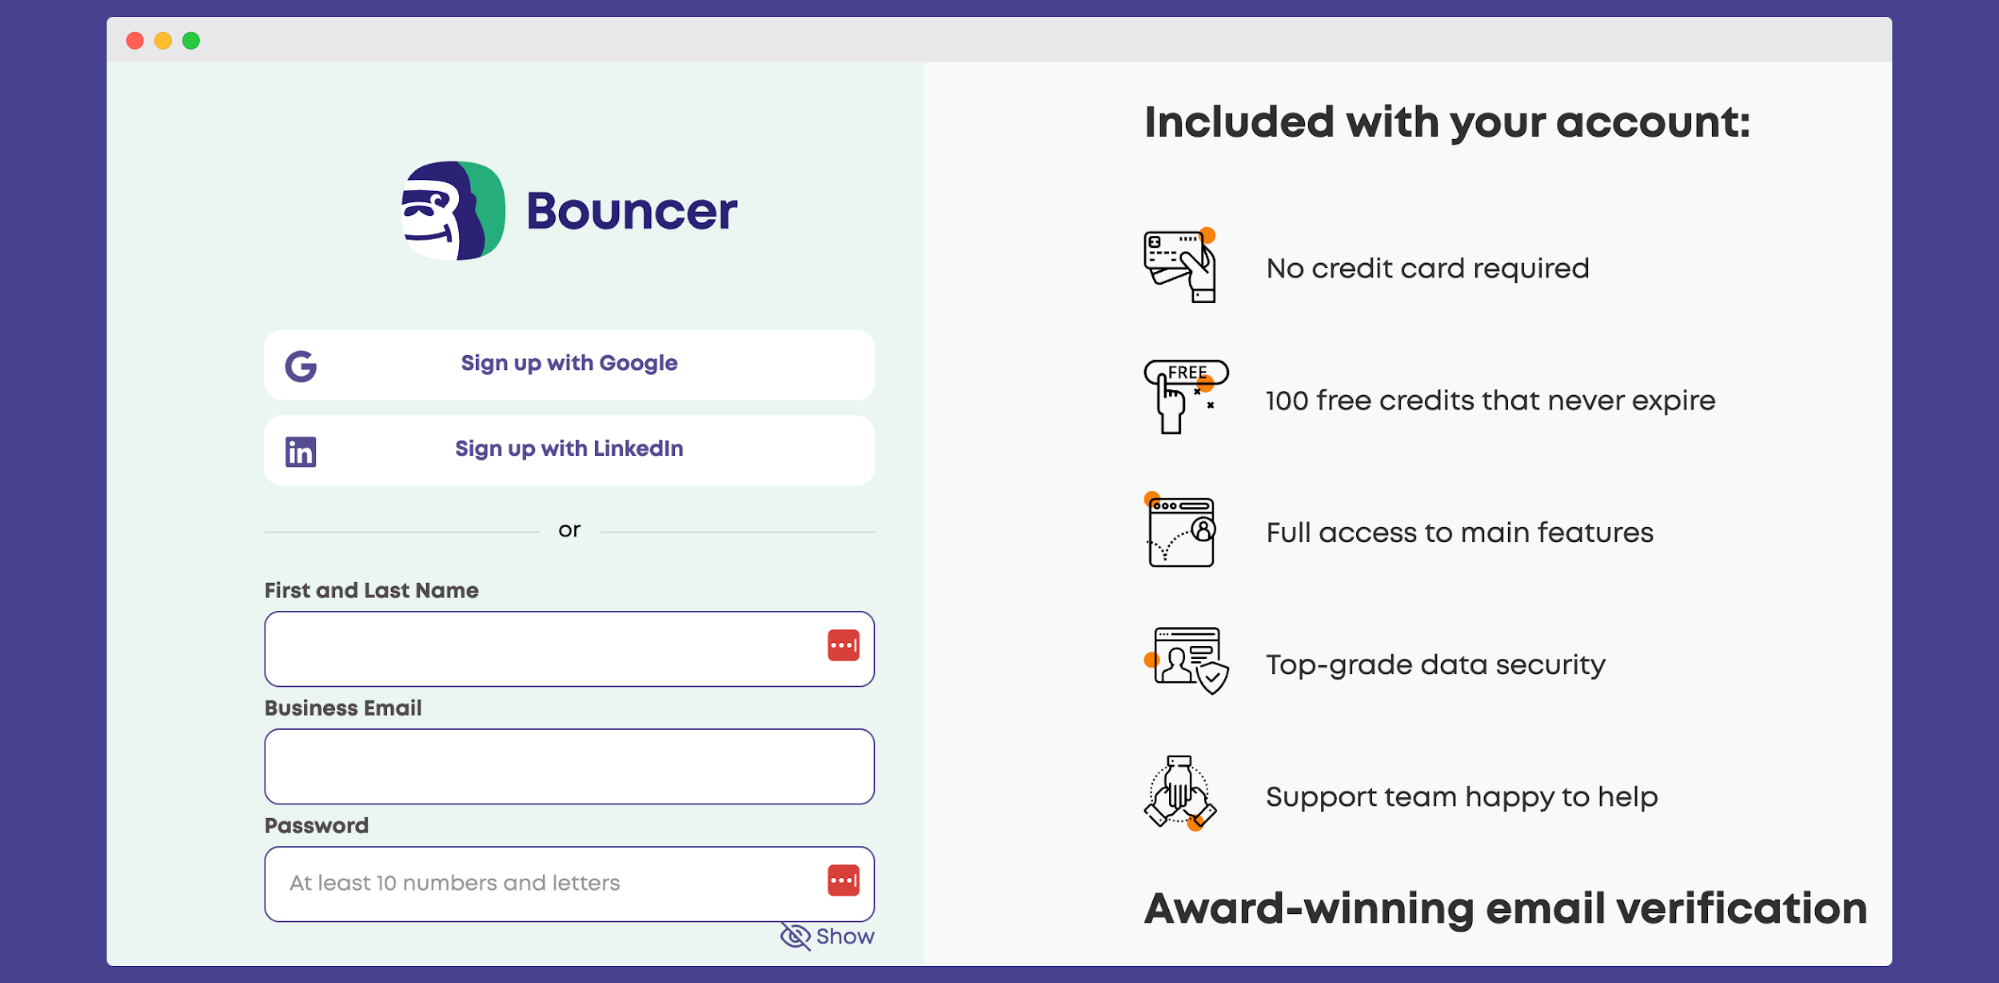
Sign up here and validate your first 100 emails for free.
Step 2: Export your ActiveCampaign list
Log in to your ActiveCampaign account.
Choose the list you’d like to export.
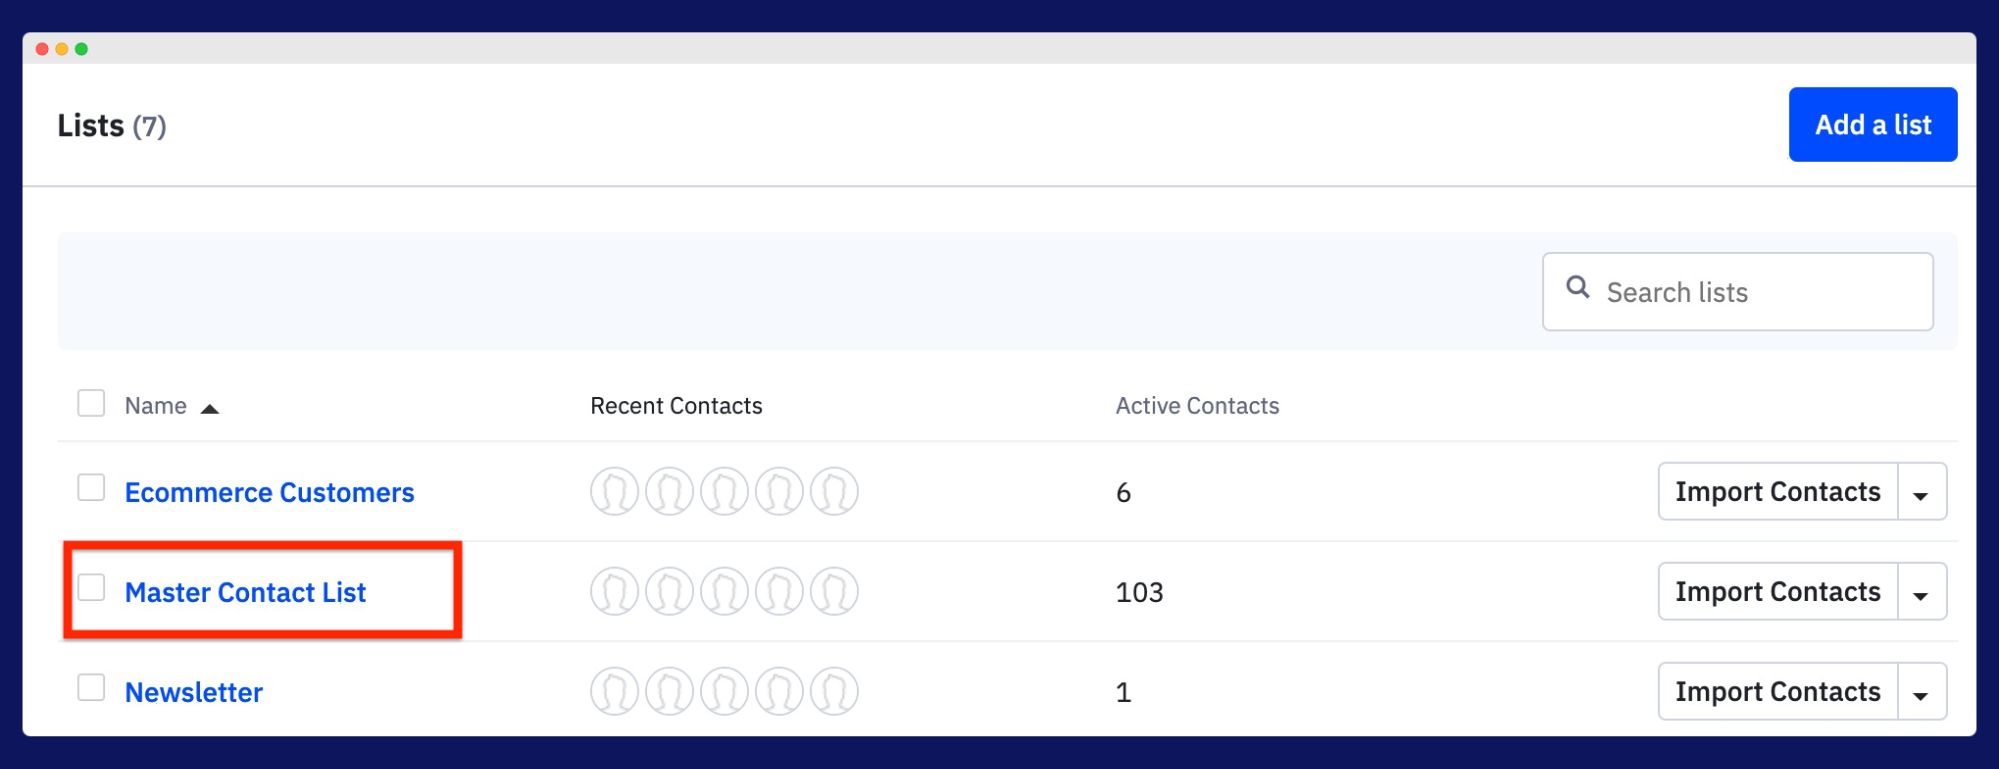
Click the Exportbutton. You can choose which fields you want to export.
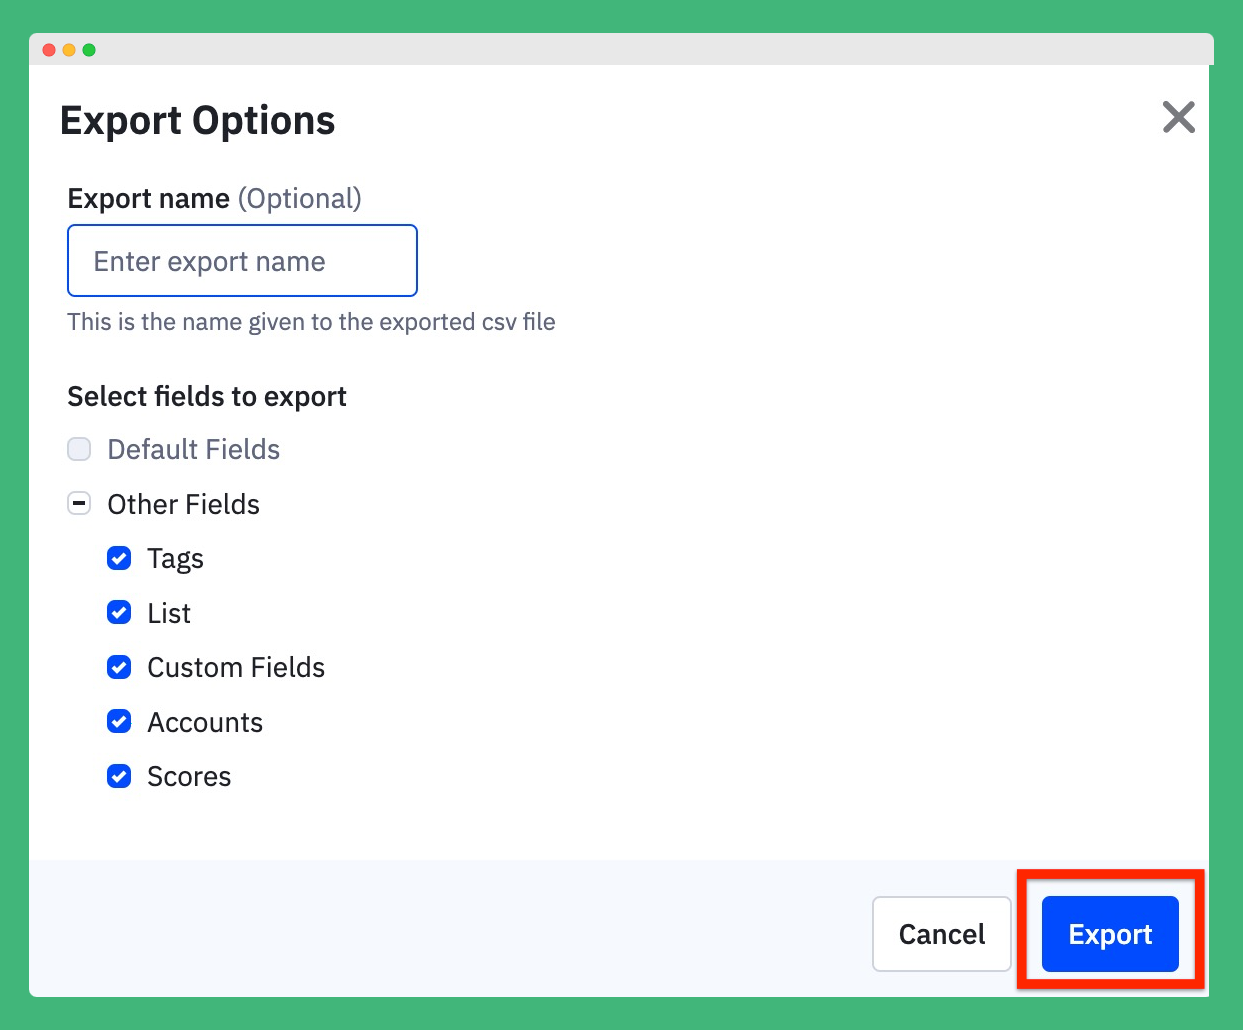
You will receive a CSV file with your email list. Now, you can upload it to Bouncer.
Step 3: Upload your ActiveCampaign list
Log in to Bouncer and copy your list. Click Add New List.
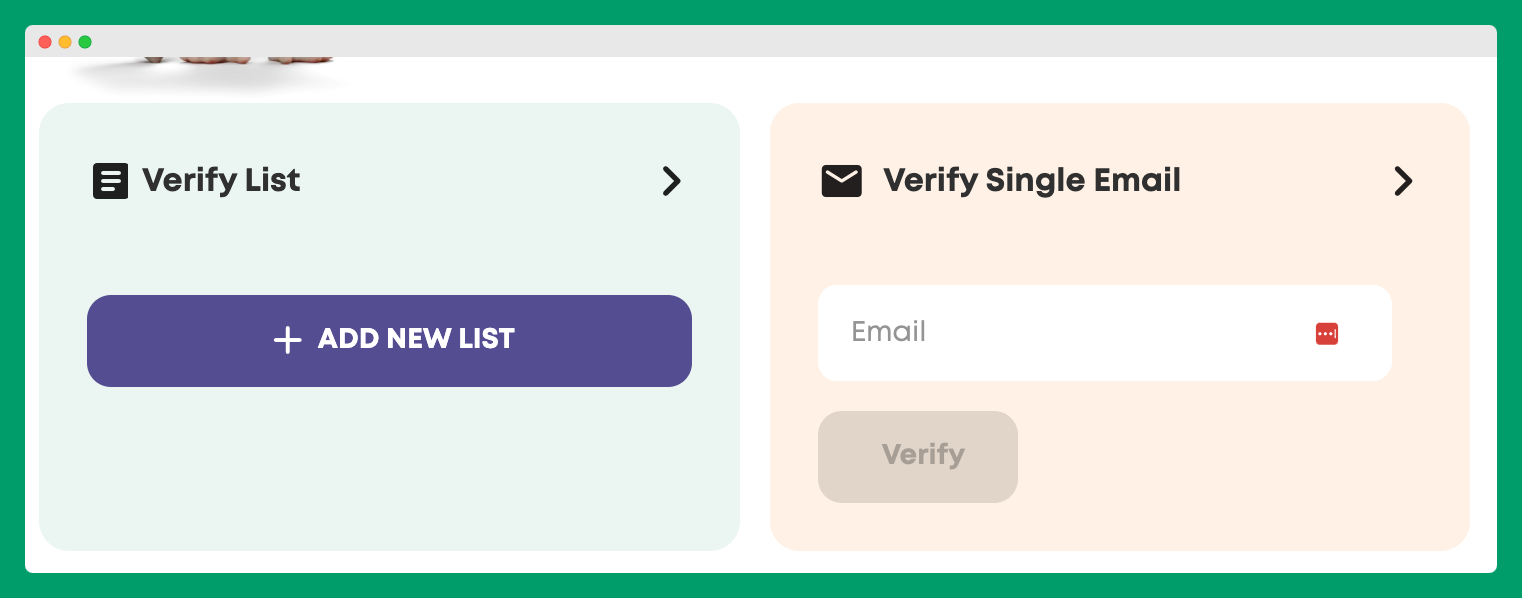
After that, you will be prompted to upload a CSV, TXT, or XLSX file or copy and paste the emails.
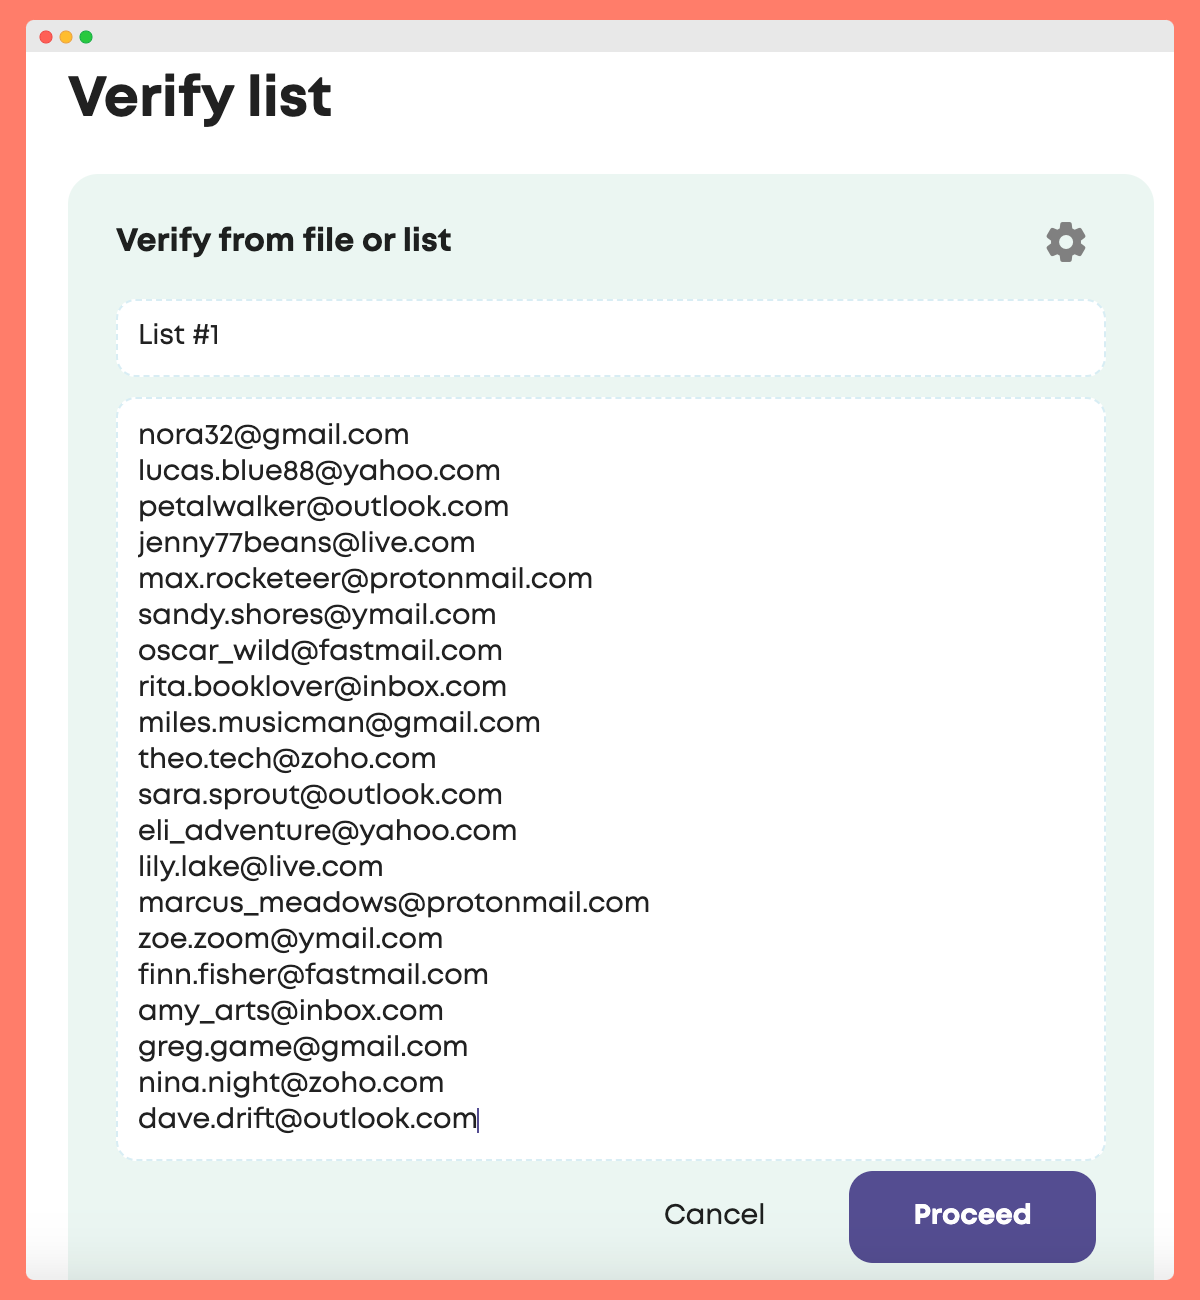
The easiest way is to copy and paste, so go for that.
Step 4: Validate emails using Bouncer
Click on Proceed.
Now, Bouncer will go through several steps to verify your emails.
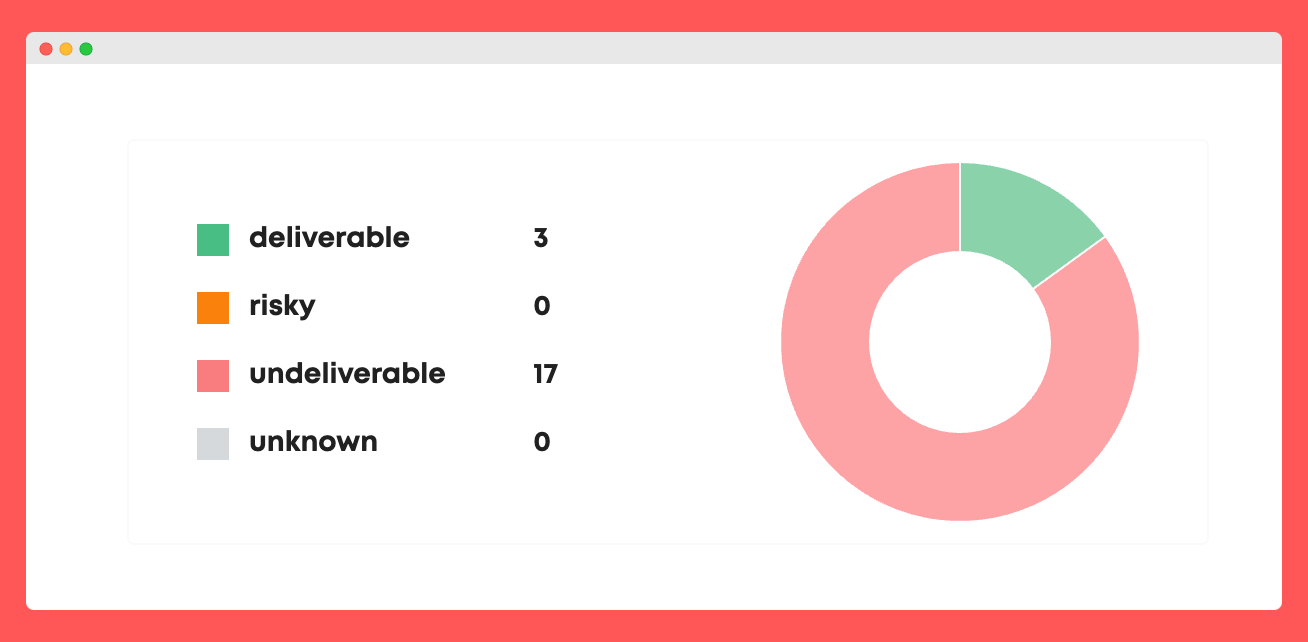
You will receive a visual representation of how clean your email list is. You can also download it and clean it of undeliverable, risky, and unknown email addresses.
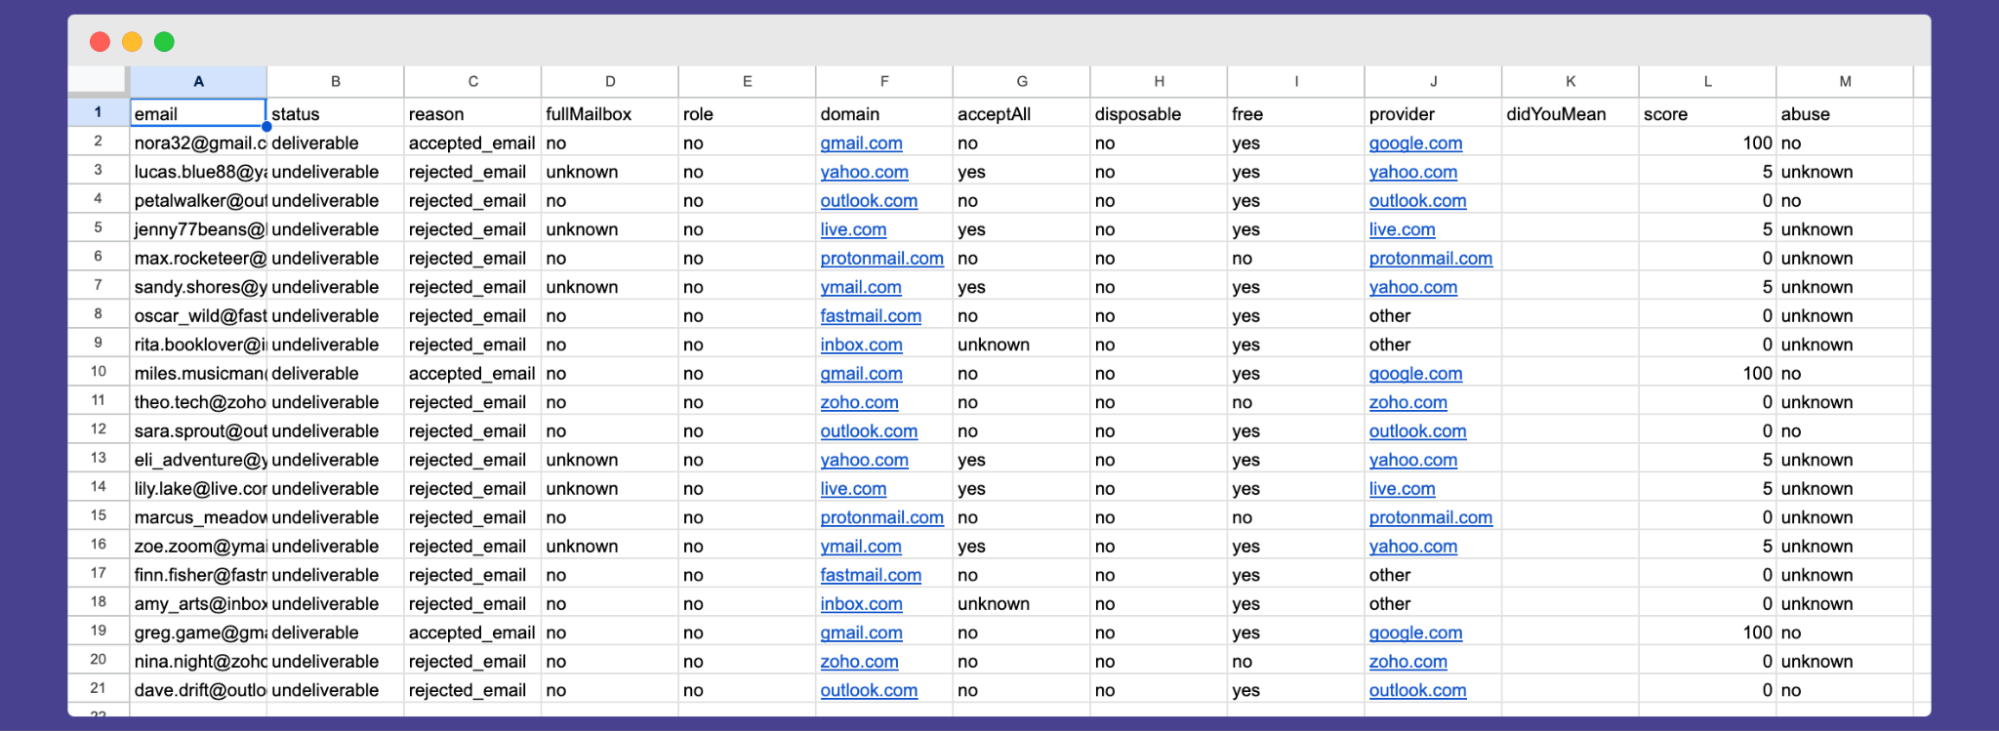
After these steps, your list is clean and ready to be uploaded back into ActiveCampaign. You will need a CSV file for it, as ActiveCampaign only works with CSV.
Step 5: Upload your clean list to ActiveCampaign
Make sure that your contacts are stored in a correctly formatted CSV file. Each email address should be assigned to a unique contact.
After preparing your file, log in to your ActiveCampaign account and navigate to the Contactssection. Click on the Importbutton and then choose Import from Fileto initiate the process.
A file browser will appear; locate and select the CSV file you want to import. Once selected, you’ll be redirected to the import screen where you can map the columns of your CSV file to the corresponding fields in your ActiveCampaign account.
Use the dropdown menus for each field to assign it or opt not to import it by selecting Do Not Import this Field. If you need to add a new field, simply click on [Add New Field]and follow the instructions provided.
Next, decide on your import options. You can choose to import contacts as Active, Excluded, or Unsubscribed. If your plan allows, you may also add contacts to specific lists and apply tags.
For finer control, explore the Advanced Optionswhere you can configure settings for triggering webhooks and automations, and decide whether to create new field options for mismatched entries in custom fields.
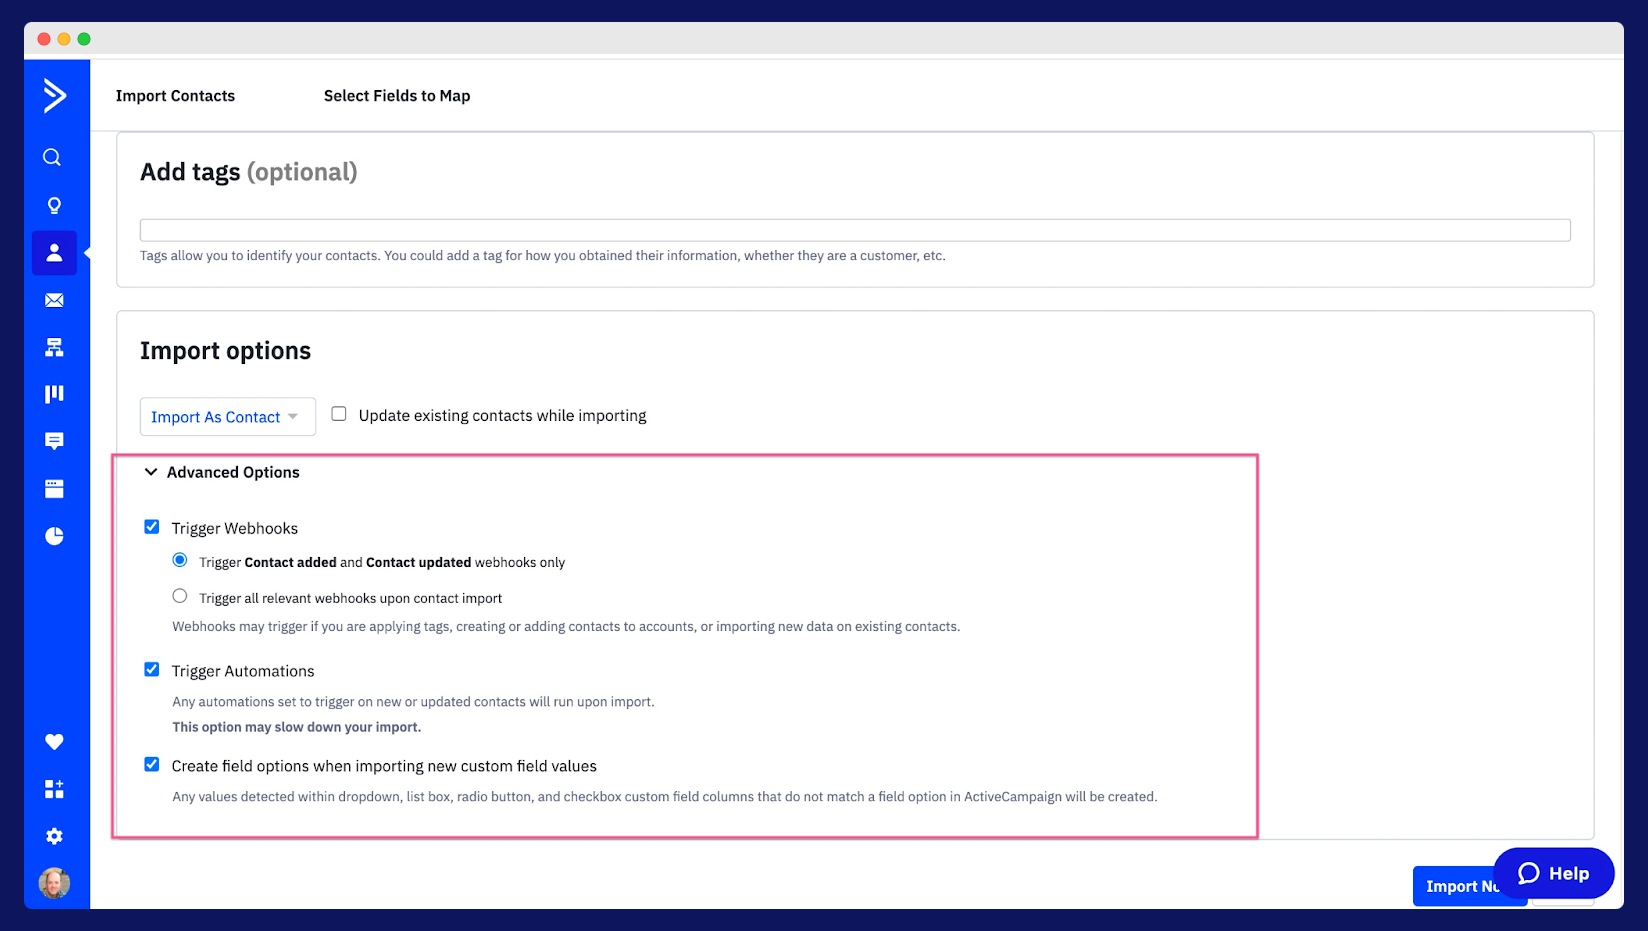
Once you’ve configured all settings to your preference, click the “Import Now” button to start importing your contacts. The duration of the import process will depend on the size of your CSV file.
That’s it! You have your clean email list in ActiveCampaign and you’re ready to start seeing amazing email marketing campaign results.
Create a Zap
There’s a more advanced option and it’s to validate the emails automatically. You can do it using Zapier and a connection between Bouncer and ActiveCampaign.
First, log in to Zapier.

By far the easiest way to create a Zap is by using Zapier’s AI assistant. Just type in what you want to automate and Zapier will program it for you:
I typed in: When a new email list appears in ActiveCampaign I want to automatically verify it using Bouncer and put it back into ActiveCampaign
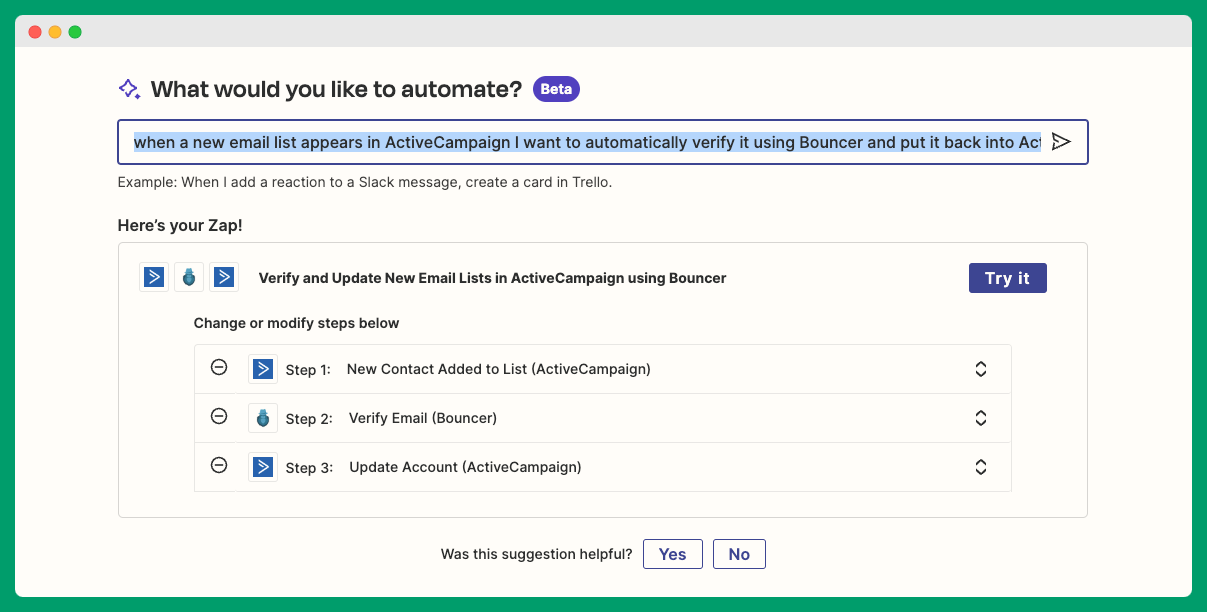
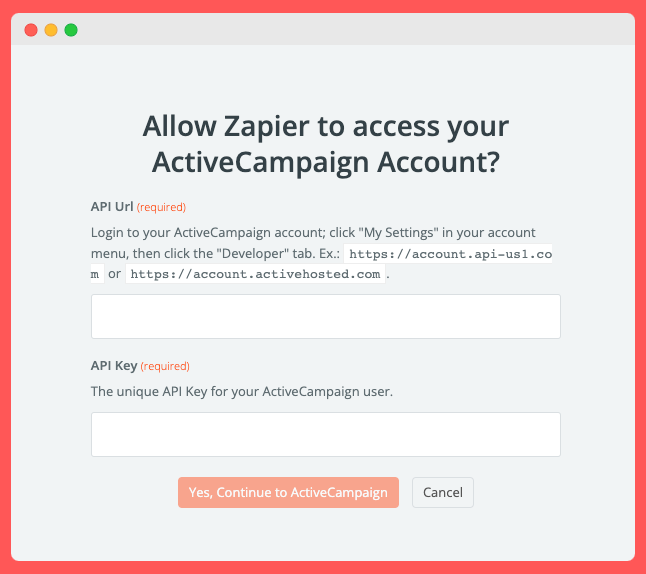
Your Zap is now ready. All you need to do is connect your accounts and you’re done! Get your ActiveCampaign API key and paste it into the field. Now your ActiveCampaign account is connected. Do the same for Bouncer.
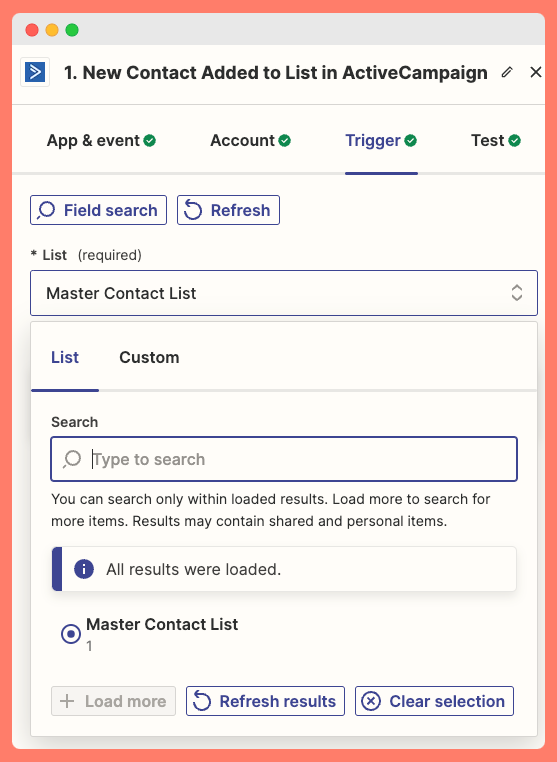
Add your list to the trigger.
Now you can test the trigger. Here’s what it should look like:
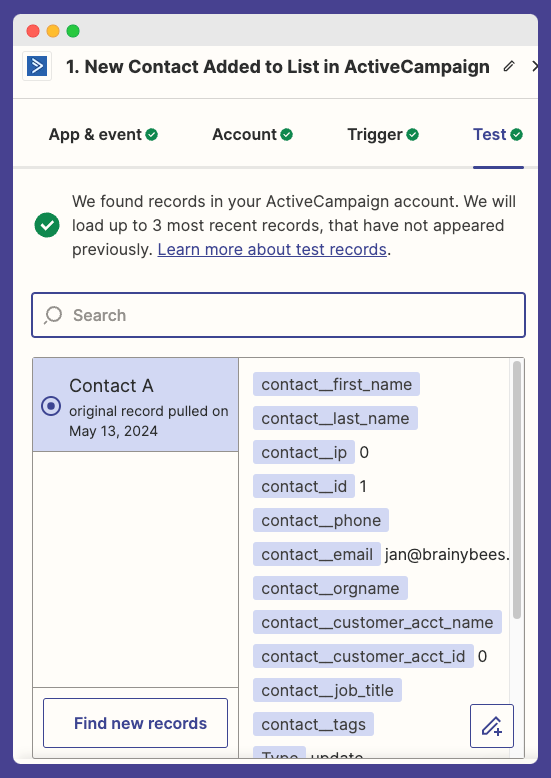
Then, check if Bouncer verifies the emails correctly. When it does, your Zap is almost ready.
Now you only need to set up automatic updates for ActiveCampaign.
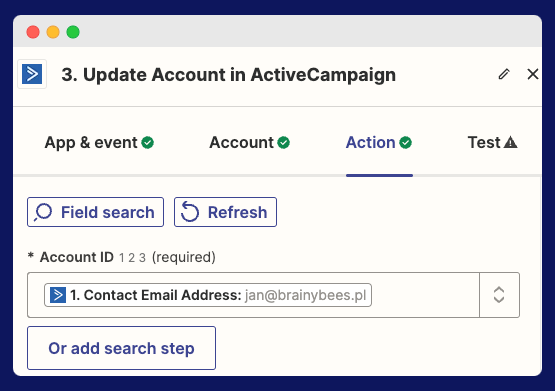
Click on Testand see if it works.
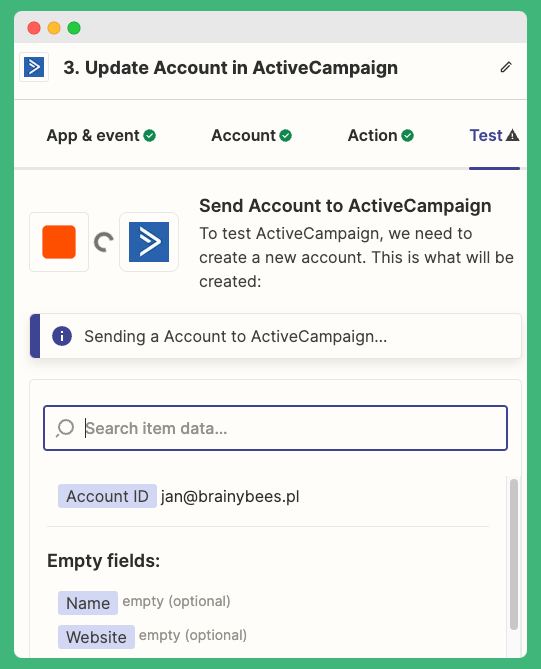
When it returns the correct result, your Zap is ready to publish!
Verify emails and watch your deliverability soar
Choosing Bouncer as your email validation tool transforms how you handle your email campaigns through ActiveCampaign. Imagine significantly fewer bounce rates and a sterling sender reputation, thanks to maintaining a pristine email list. Bouncer’s high accuracy ensures that nearly all invalid or fake emails are caught before they can impact your marketing efforts.
Taking the steps to integrate Bouncer’s thorough validation process means your ActiveCampaign strategies will be more effective and your outreach more reliable. Ready to safeguard your digital reputation and enhance your email deliverability?
Sign up for Bouncer today and validate your first 100 emails completely free!

